Haratio Fales
-
Posts
125 -
Joined
-
Last visited
Content Type
Profiles
Forums
Blogs
Gallery
Events
Store
Everything posted by Haratio Fales
-

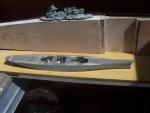
1/72 scale German light cruiser Munich. 1940
Haratio Fales replied to Haratio Fales's topic in Military Art
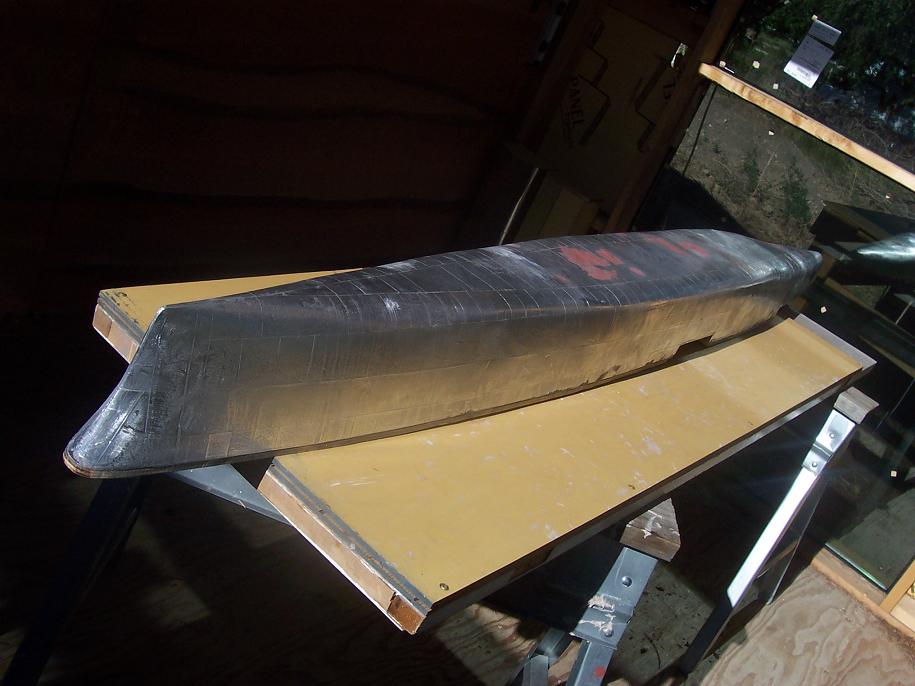
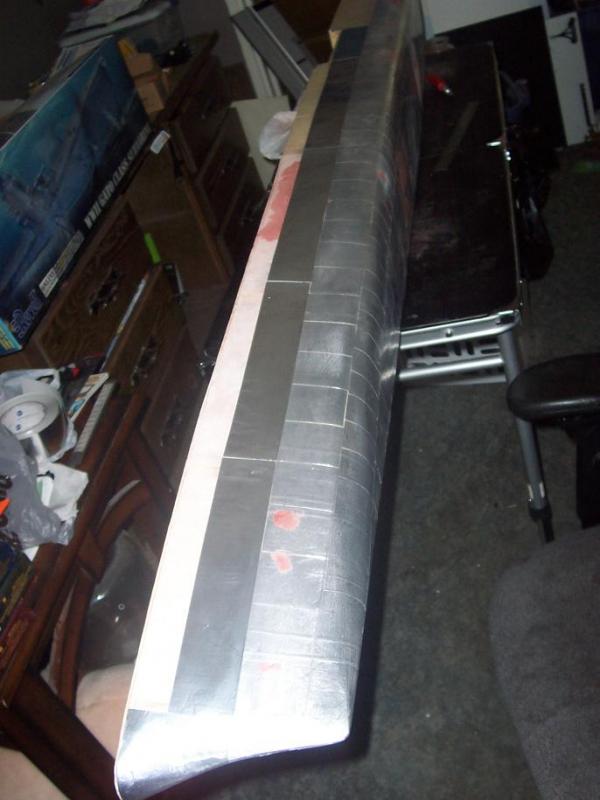
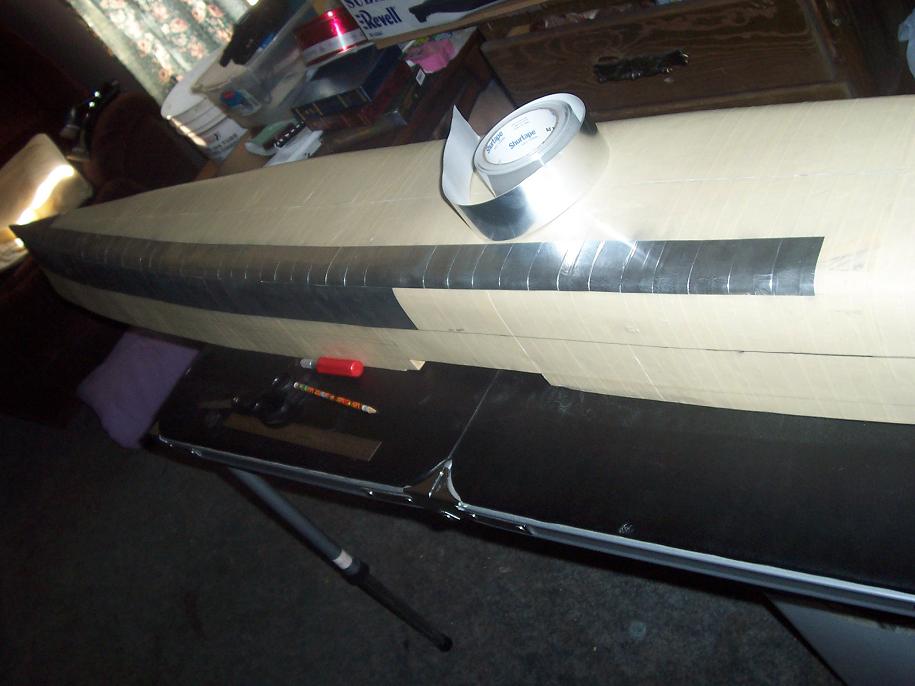
I need to refoil the top and sand the whole thing down with 400 grit sand paper so I can get ready to make molds from it. I think on the next one, I'm going to make it baby butt smooth and then cast the molds, then do the foil tape trick on a fiberglass, or resincast hull. I do like the effect, it is just real delicate, and the mold plug is 170 lbs, so the tape wrinkles or tears if I bump it on any surface. I think that once I get it done on here, I can set it up to mold without moving it. and leave it on its deck till I get a mold made. Here is a trivia question. What was the only enemy aircraft to drop bombs on the mainland/ lower 48 states durring WW2?
-
1/72 scale German light cruiser Munich. 1940
Haratio Fales replied to Haratio Fales's topic in Military Art
I miss measured on the design and the second deck was out of scale. It was 5 and a half feet in height, and I had to add bosrds to bring it to 8 foot 3 inches which is in the line drawings.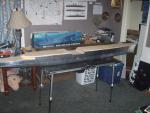
-
1/72 scale German light cruiser Munich. 1940
Haratio Fales replied to Haratio Fales's topic in Military Art
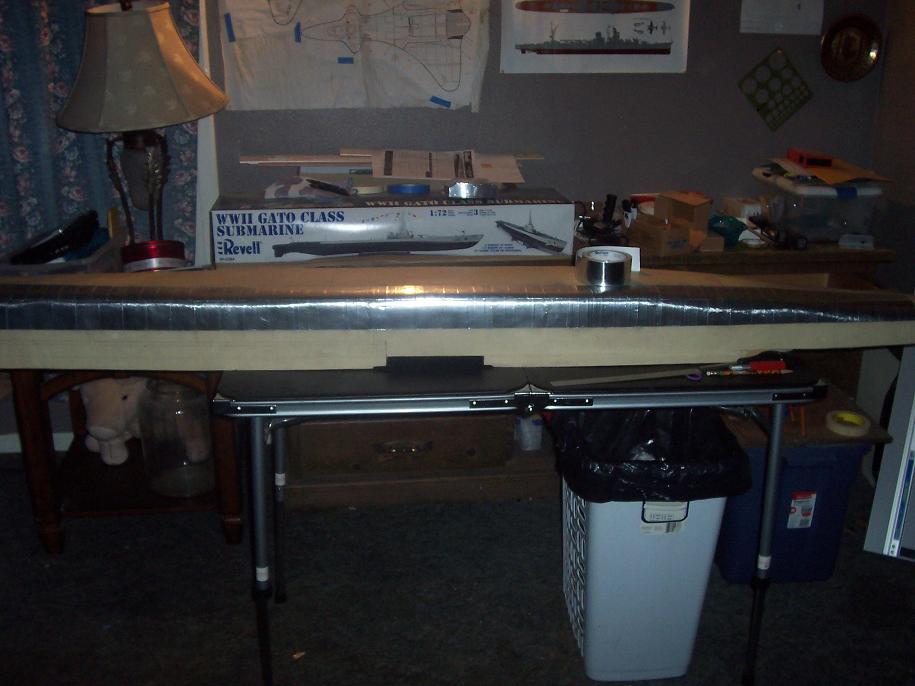
Sorry I haven't posted in a week, I finished taping the Hull and have been applying spot putty on quite a few little area's. I have to finish scuff saning it and get it ready for primer, I acctually worked teh shape of the bottom to get the form and ended up making the Upper most deck come out at 5.5 scale feet, and it needs to be 7.5 so I need to raise the highth of these slightly to put it back into scale, this wont be hard, just time consuming. I'll post more pics when they don't look redundant. -
1/72 scale German light cruiser Munich. 1940
Haratio Fales replied to Haratio Fales's topic in Military Art
I'm going to finish the foil tape on the Hull, then sand it down with 400 grit sandpaper. Paint it with primer and polish it with wax so I can cast a couple of molds for the RC version.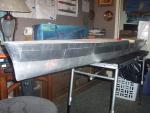
-
1/72 scale German light cruiser Munich. 1940
Haratio Fales replied to Haratio Fales's topic in Military Art
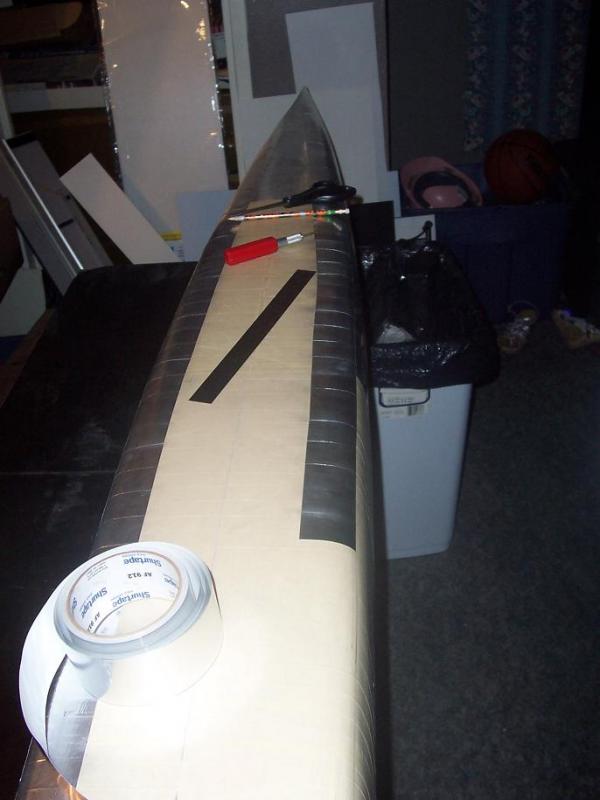
The Nose is looking better.
-
1/72 scale German light cruiser Munich. 1940
Haratio Fales replied to Haratio Fales's topic in Military Art
I started taping above the waterline. I need to scribe some plate lines and clean the putty areas.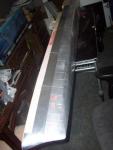
-
1/72 scale German light cruiser Munich. 1940
Haratio Fales replied to Haratio Fales's topic in Military Art
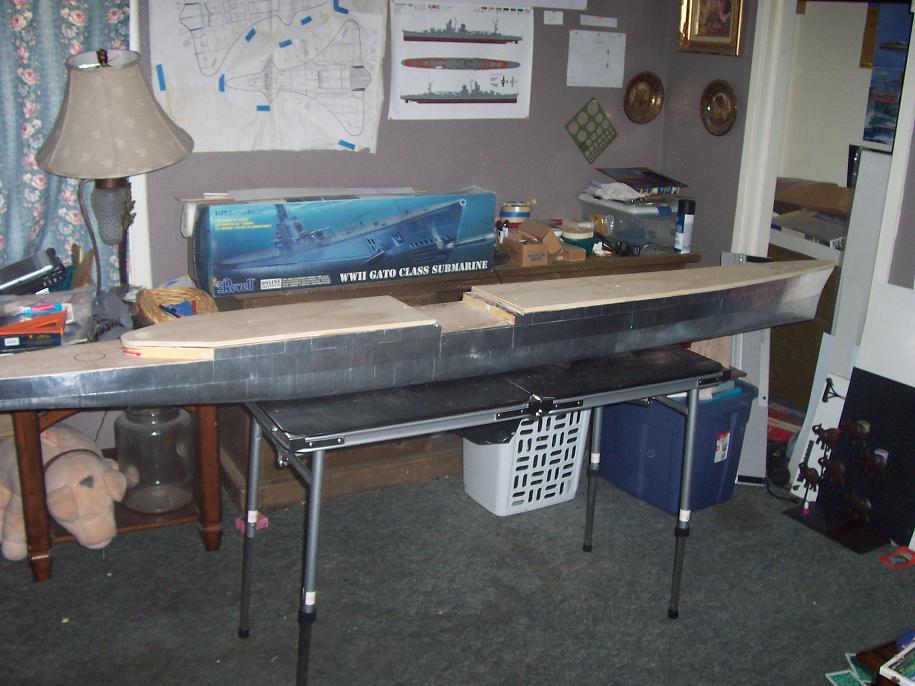
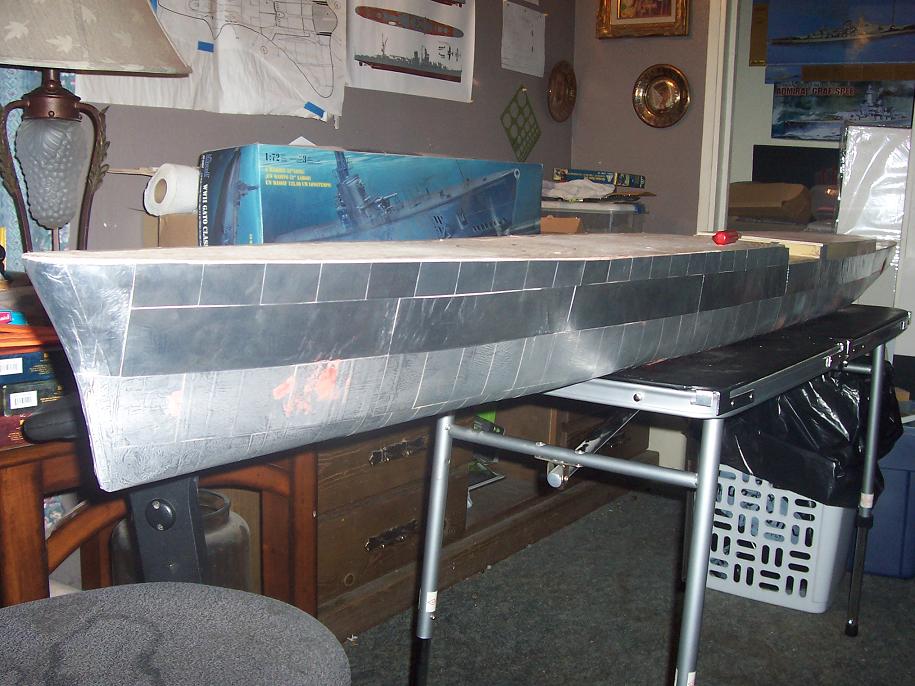
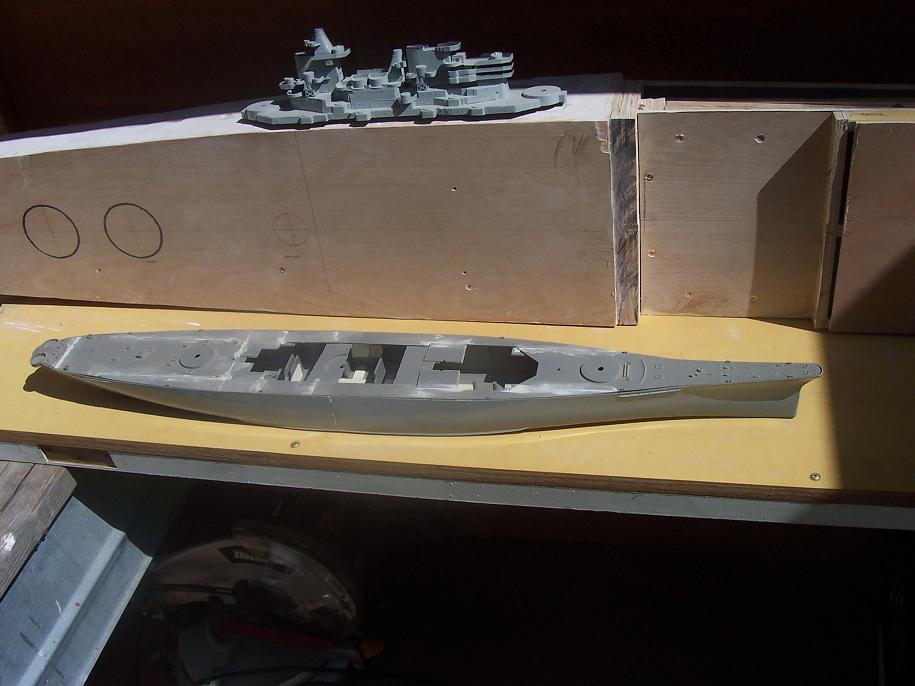
they will remain but I had to fill in some pits that I should have filled before I started taping. I still have to sand teh putty and scuff sand the metal tape with 400 grig sand paper, l like you would do on a car body, and I'm going to prime it/ but the lines will remain. if the putty fills in a line, I will rescribe it. I have to work on the center scew skeg on the stern and foil tape the upper hull. Figure out the raised armor raft design, and so on, so I can get ready to make the first mold of her. The hull is the longest part of this project, however I have been learning what is working and what is not. This is the first scratch build project that I have done in this size. I think on the next one I am going to take more time up front and use a closer rib design, and use foam thin body fill it as it should be quicker, and smoother. I do like how the foil tape is working and I think it would work well on a fiberglass, or wood hull, for an actual model. This is a plug for a mold so I can reproduce the hull in fiberglass, Resin, styrafoam, and I intend to cast a special mold to use as a form to weld sheet metal in for RC hulls. I had thought about making a mold then doing the detail work to the mold, of casting another plug and then working it over, but I think if I just take my time now and get this one detailed it will come out right and save me allot of work. Then I will put up the master plug, and start working on the superstructure, guns, stacks, catapults, ext ext. -
1/72 scale German light cruiser Munich. 1940
Haratio Fales replied to Haratio Fales's topic in Military Art
I should have done the spott putty back in the end of the bondo stage, but I got in a hurry so now I'm fixing it.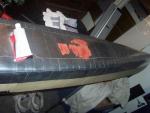
-
1/72 scale German light cruiser Munich. 1940
Haratio Fales replied to Haratio Fales's topic in Military Art
some putty on a few places and some sanding and she'll be ready to prime, after I tape the sides.
-
1/72 scale German light cruiser Munich. 1940
Haratio Fales replied to Haratio Fales's topic in Military Art
The bottom plates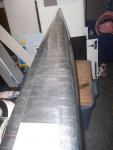
-
1/72 scale German light cruiser Munich. 1940
Haratio Fales replied to Haratio Fales's topic in Military Art
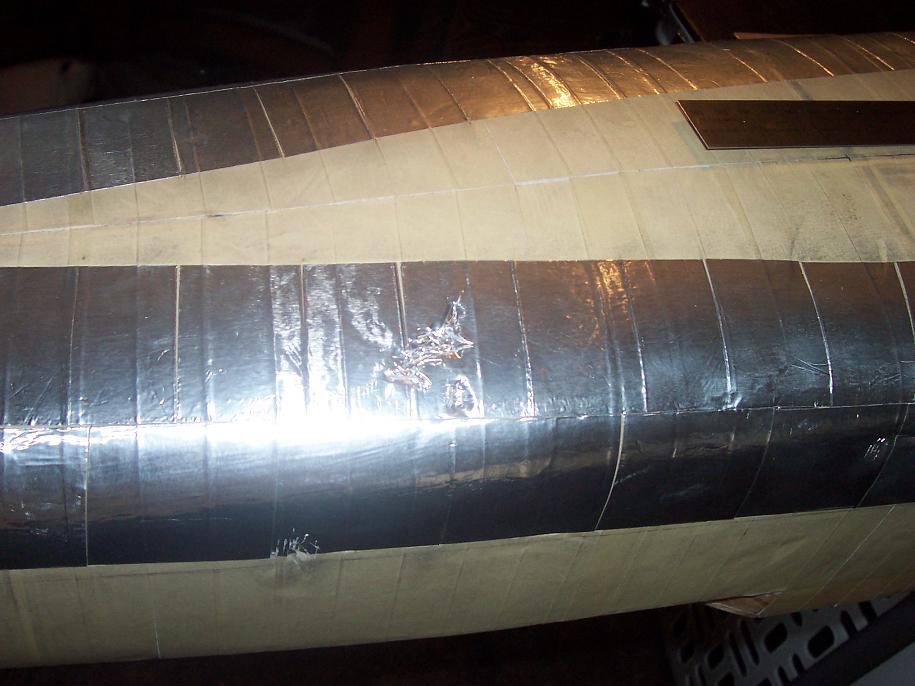
I did more taping and prep for the pits I thought the Tape would hide, but I hav decided to spott putty.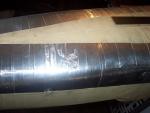
-
1/72 scale German light cruiser Munich. 1940
Haratio Fales replied to Haratio Fales's topic in Military Art
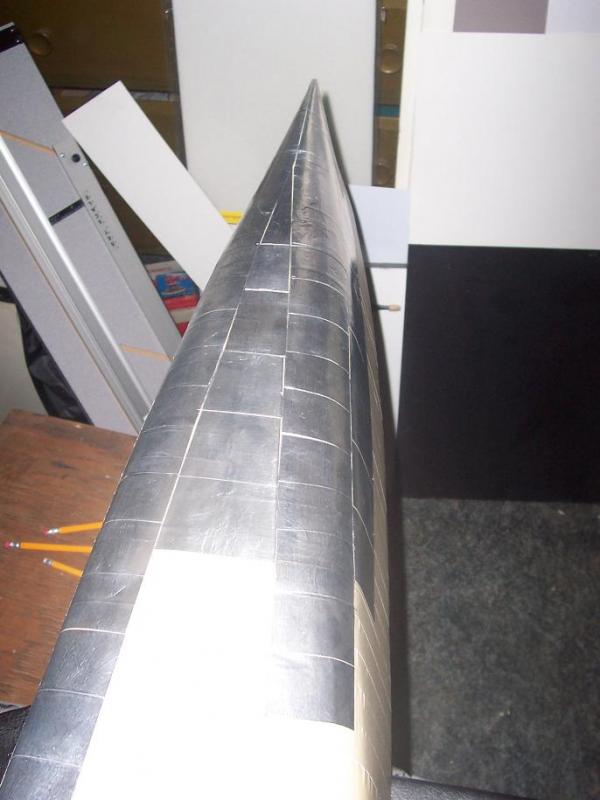
I use sissor handle to rub out the wrinkles on the stern and the foil tape holds its shape.
-
1/72 scale German light cruiser Munich. 1940
Haratio Fales replied to Haratio Fales's topic in Military Art
The stern area was sticky but the foil tape rubs down real good in tight areas. I use sissor handles to rub out the wrinkles.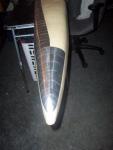
-
1/72 scale German light cruiser Munich. 1940
Haratio Fales replied to Haratio Fales's topic in Military Art
The stern area was sticky but the foil tape rubs down real good in tight areas. I use sissor handles to rub out the wrinkles. -
1/72 scale German light cruiser Munich. 1940
Haratio Fales replied to Haratio Fales's topic in Military Art
I need to get the bottom done so I can move on to the side.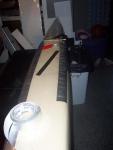
-
1/72 scale German light cruiser Munich. 1940
Haratio Fales replied to Haratio Fales's topic in Military Art
I got a little more work done to her yesterday.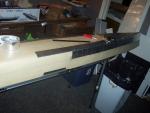
-
1/72 scale German light cruiser Munich. 1940
Haratio Fales replied to Haratio Fales's topic in Military Art
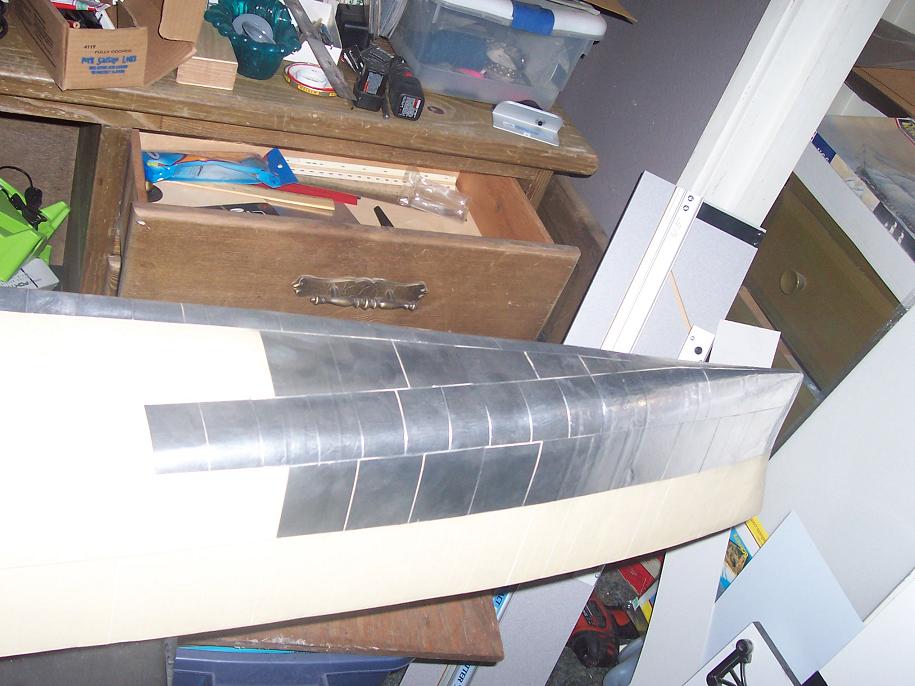
Here's another angle.
-
1/72 scale German light cruiser Munich. 1940
Haratio Fales replied to Haratio Fales's topic in Military Art
I got a little work done today, starting on the port side and bottom pattern. Some of the plates are gaped a bit large, I might redo this area or prime and paint it and see how it looks.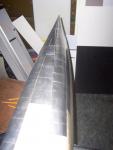
-
1/72 scale German light cruiser Munich. 1940
Haratio Fales replied to Haratio Fales's topic in Military Art
This is My daughter sanding in front of the Hull. She is 4 foot 4, so half the lenght of the ship.
-
1/72 scale German light cruiser Munich. 1940
Haratio Fales replied to Haratio Fales's topic in Military Art
Now with the starboard side finished waterline to hull curve, I can tape the otherside diametrically opposed, and then I'll tape a armor plate pattern on the bottom of the ship.
-
1/72 scale German light cruiser Munich. 1940
Haratio Fales replied to Haratio Fales's topic in Military Art
It takes a bit of time on this step, However I excell at patience.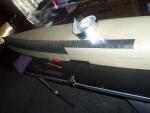
-
1/72 scale German light cruiser Munich. 1940
Haratio Fales replied to Haratio Fales's topic in Military Art
These Forums have been keeping Me motivated to keep Driving on the project and the more I do to the ship has been driving Me also as she looks better every day. I really enjoy the interest and comments, and I have learned allot from other peoples projects also, It is kind of like getting a Scooby Snack for my efforts, LOL so TY all and Ill post more as soon as I can.
-
1/72 scale German light cruiser Munich. 1940
Haratio Fales replied to Haratio Fales's topic in Military Art
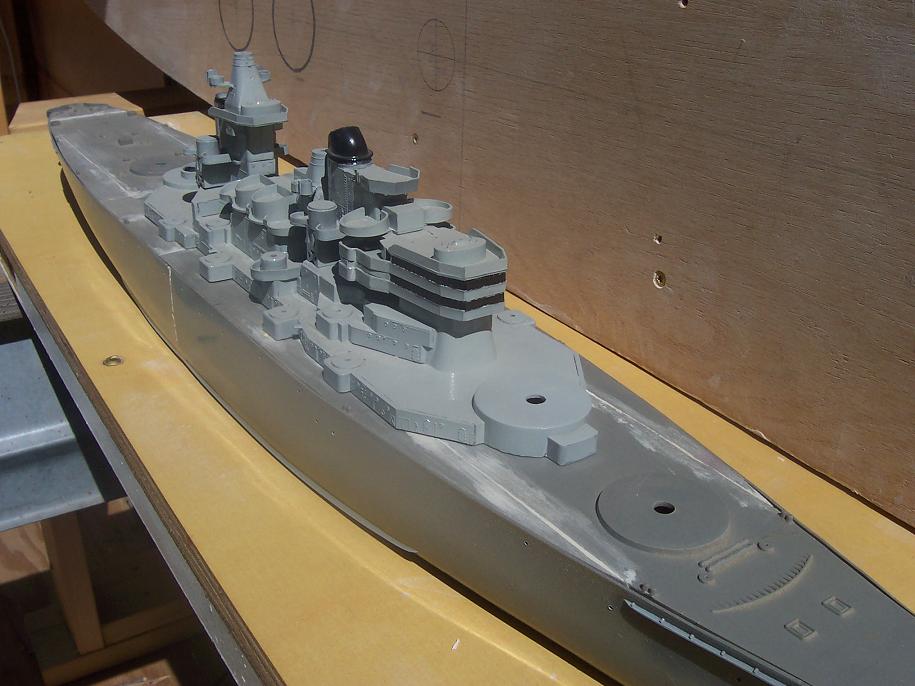
Here is a close up of the bridge area. This is a model I spent allot of time playing with he demensions and it just seemed to small for so much time and effort. I saw a model of the Bismark in 1/144 scale from soar arts that is in Germany. She sells for about 1200 dollars. The size was Impresive but the detail was sorely lacking and allot of the parts were very bland for a model of that size. I am acctually some what Lazy in nature, so I try to do stuff one time if I can get away with it. So I aim to build a ship once and then make it so it can be a museum peice, or a RC ready to play with.
-
1/72 scale German light cruiser Munich. 1940
Haratio Fales replied to Haratio Fales's topic in Military Art
I like to build and or look at things that were concepts but not built. I have several line drawings of Z plan cruisers that were concepts and were planed and even ordered but never realized because of the war starting when it did. I have thought about later attempting to Garage kit some of these in 1/350 resin, as no model companies as of yet has taken any intrest in them at all, I would have an open market. I do plan to finish this cruiser and mold her so I can do fiberglass and or Sheet steel hulls and parts to sell for RC purposes,so If any of You would be inerested in that, just keep following this tread and when I get to that point Ill be showing that also.
-
1/72 scale German light cruiser Munich. 1940
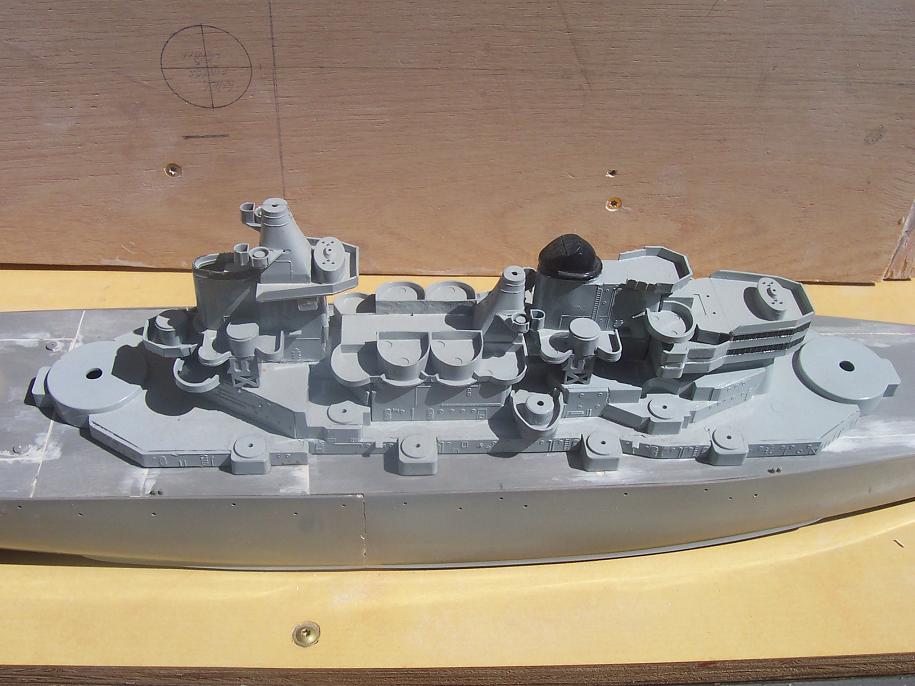
Haratio Fales replied to Haratio Fales's topic in Military Art
I took the super structure of one kit and cut the fore barbette and deck area to fit it from th second kit. Thin I played with the idea and added a small barbette so I could have 6-5 inch gun houses per side instead of 5. I lengthend the 40 mm tubs between the stacks to have 8 instead of 6. I doubled the bridge to ad a full size flag bridge. and added 2 40 mm tubs right behigned the upper bridge. Looking at it now I would revise it slightly as I dont think they would have built it that way but I wanted mine to be different then the Montana, that other people already scratch built, so I was going to put 69 on her hull wich was designated to be named Maine.