Haratio Fales
-
Posts
125 -
Joined
-
Last visited
Content Type
Profiles
Forums
Blogs
Gallery
Events
Store
Everything posted by Haratio Fales
-

1/72 scale German light cruiser Munich. 1940
Haratio Fales replied to Haratio Fales's topic in Military Art
This is a set of 2 New jersey Hulls that I split with a razor saw some years ago to test an idea about making a Montona class Battleship in 1/350. I figured out the length and width from a book that I purchased called (U.S. Battleships An Illustrated Design History) and cut one hull lon from the front and the other long from aft to come up with one.
-
1/72 scale German light cruiser Munich. 1940
Haratio Fales replied to Haratio Fales's topic in Military Art
LOL I think I actully have plans for Titanic in 1:200 somewhere, I have seen her in 1/2500 up to 1/12th scale online. Type in Titanic Model on the search engine. I have allot of 1/350 stuff but it always seemed to small to me. I considered the 1/144 scale, which would be good for models but The Rc comunity is slowly gravitting towards 72 scale. I think because it is more impresive on the pond and You can see it further away.Plus there are model aircraft in that scale of almost every airplane ever built. so its easy to get Arado's or Jake and Pete float planes for the ships that carried them. -
1/72 scale German light cruiser Munich. 1940
Haratio Fales replied to Haratio Fales's topic in Military Art
The more I add, the better its starting to look. We'll see after I work the foil over. I still need to look at teh second and third deck compartment plans to draw the vertical bulkheads onto the upper hull so I can logic out a port hole plan for her. The line drawings didnt show these as they didnt get that fo into the planing or construction application.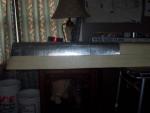
-
1/72 scale German light cruiser Munich. 1940
Haratio Fales replied to Haratio Fales's topic in Military Art
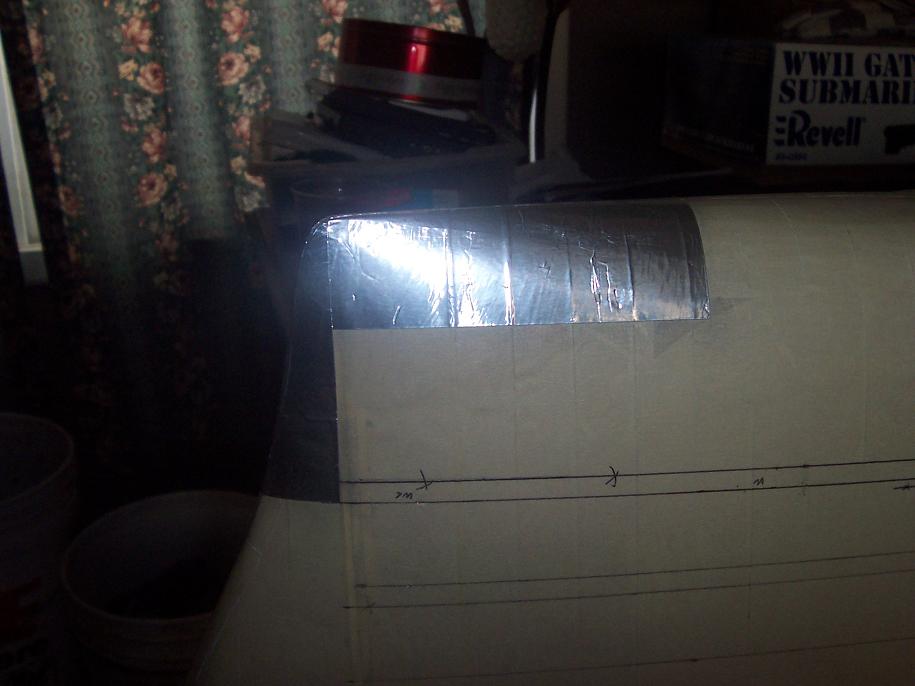
Then I run simulated plates from teh curve line to the waterline.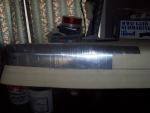
-
1/72 scale German light cruiser Munich. 1940
Haratio Fales replied to Haratio Fales's topic in Military Art
I run plates along the hull curve line, mesured up from teh water line.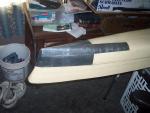
-
1/72 scale German light cruiser Munich. 1940
Haratio Fales replied to Haratio Fales's topic in Military Art
The pictures look worse than it looks in peron, but the pics let me see flaws that are hard to see just looking at teh hull.
-
1/72 scale German light cruiser Munich. 1940
Haratio Fales replied to Haratio Fales's topic in Military Art
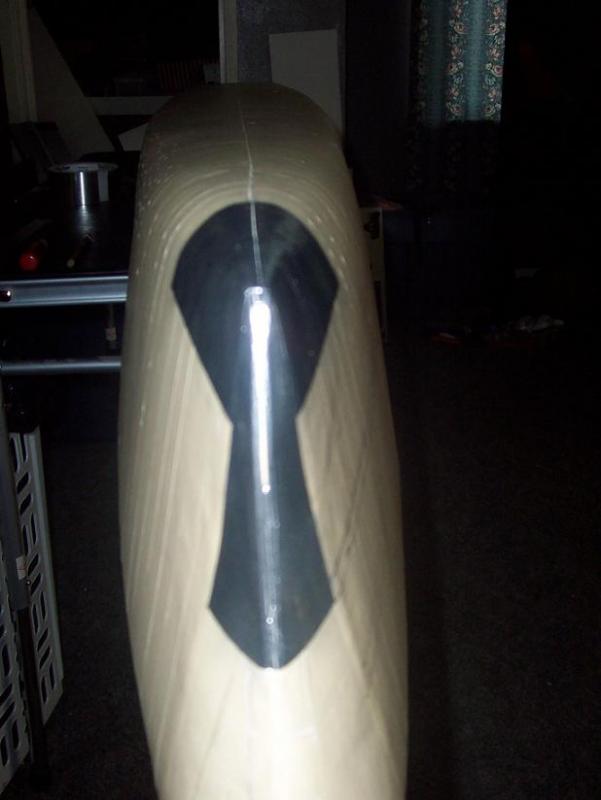
My centerline is a tad off to starboard from the masking cut, however I can fix this now on the overlay.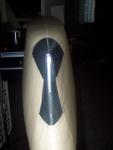
-
1/72 scale German light cruiser Munich. 1940
Haratio Fales replied to Haratio Fales's topic in Military Art
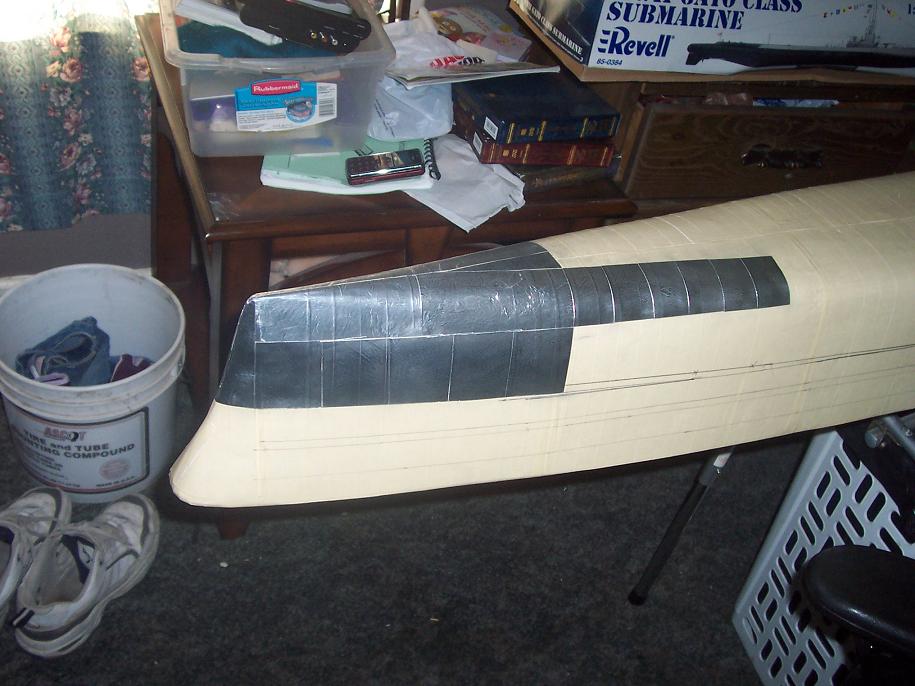
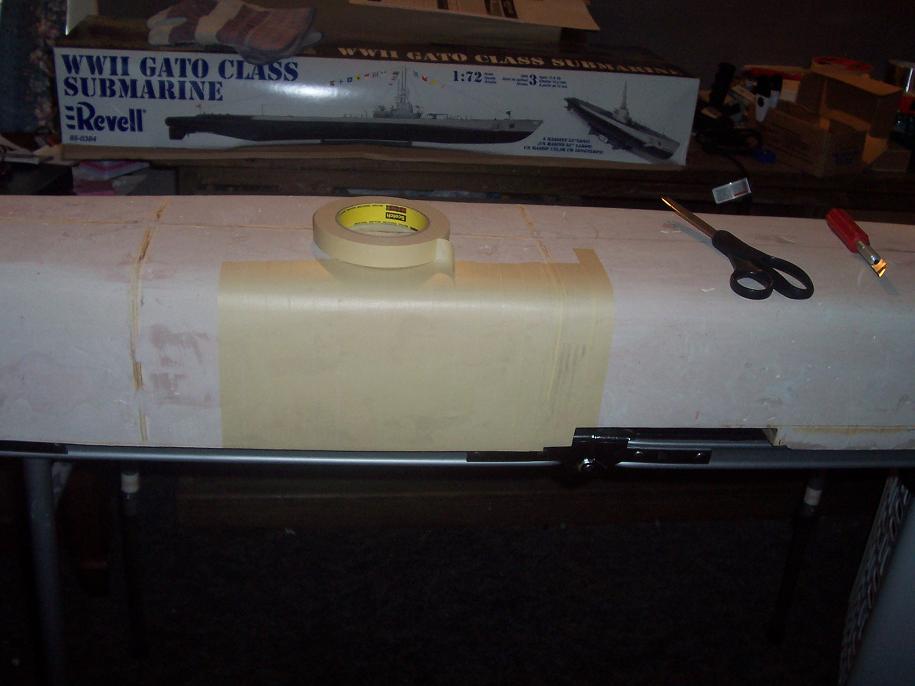
At this point I am starting to tape simulater steel plates with Foil tape.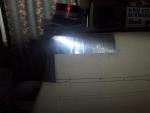
-
1/72 scale German light cruiser Munich. 1940
Haratio Fales replied to Haratio Fales's topic in Military Art
I used a razor knife to shape the tape at the bow and stern where the contours get hard for straight lines.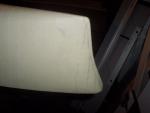
-
1/72 scale German light cruiser Munich. 1940
Haratio Fales replied to Haratio Fales's topic in Military Art
The whole Hull taped at about 6 man hours over 3 days.
-
1/72 scale German light cruiser Munich. 1940
Haratio Fales replied to Haratio Fales's topic in Military Art
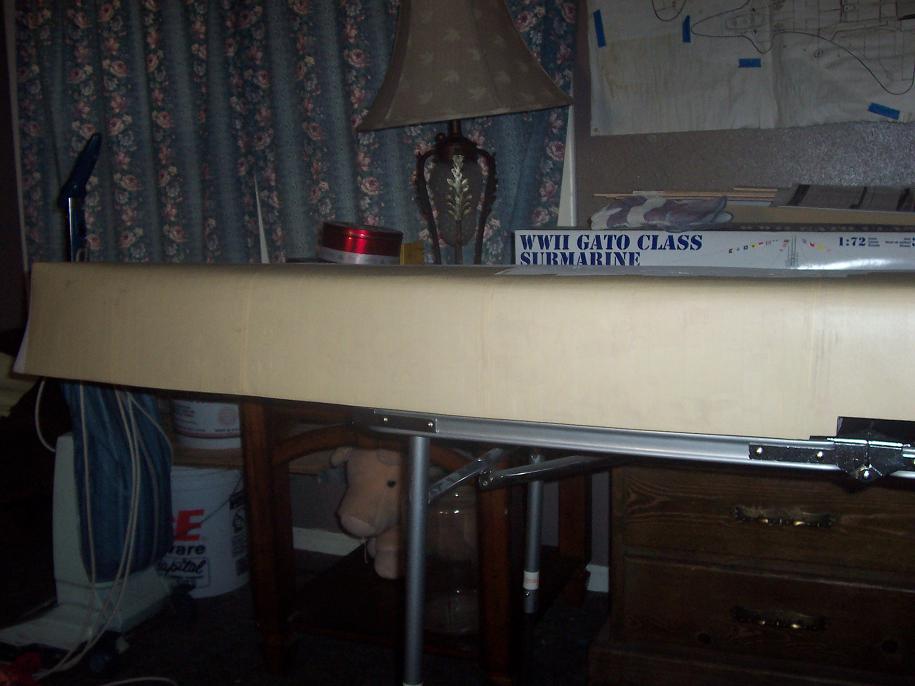
The hull half way masked.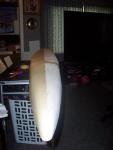
-
1/72 scale German light cruiser Munich. 1940
Haratio Fales replied to Haratio Fales's topic in Military Art
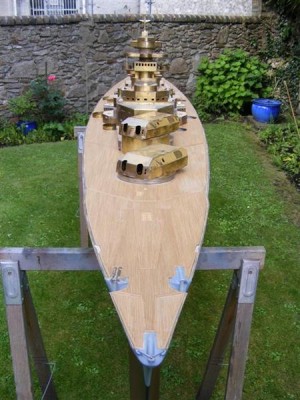
this is one of Bismark from (The Ship Model Forum). He has been building this one for over 2 years now and plans to have the main guns fire flash bang ammo, and RC traverse and elevate. there is a picture of the Mold for the hull that was in England and its about 13 foot long. as far as I know You can still buy one of these hulls. If not I'd like to purchase the mold and sell them. If i sold 3 a month I could pay my rent LOL.
-
1/72 scale German light cruiser Munich. 1940
Haratio Fales replied to Haratio Fales's topic in Military Art
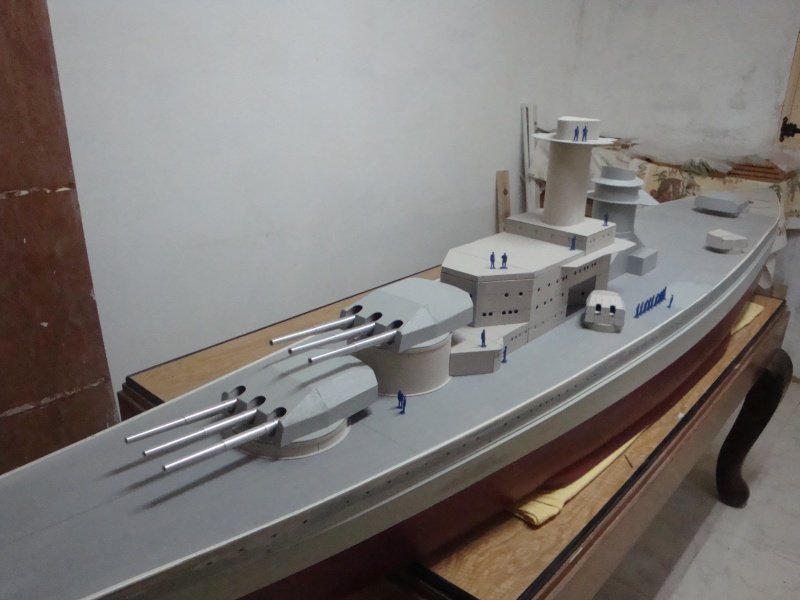
This is the project from North Carolina, but I dont think he has it posted.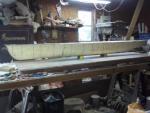
-
1/72 scale German light cruiser Munich. 1940
Haratio Fales replied to Haratio Fales's topic in Military Art
TY, for the kind comments, I don't know if they have trains in 1/72 scale but that would be cool. I have a freind in Italy that is buildint teh Sharnhorst in this scale. and a man in North Carolina building a Japanese float plane carrier. I have a friiend here that builds ships for Rc from sheet metal in 1/87 which is HO train scale and he has about 20 or so, but he's computer illiterate and I dont think he would care to much for the blog things. I wish I had ome pics of his work though. the are a bit rough as he is not tring to make them for static display. Anyway I plan to make molds so I can copy the hull in fiberglass for an RC version, but this one will be a Mantle Queen for me. Keep waching and check out (The Joly Roger Shipyard) under scratch built. The Model Ship Forum, under scratch built, and IPMS Malta MMS under Marine. These are all the sights that Im posting on and that I have seen all the other ships in 72/96/100/200/ and 350 scale that are fenomenal projects. This is the one from Italy that is on the malta site.
-
1/72 scale German light cruiser Munich. 1940
Haratio Fales replied to Haratio Fales's topic in Military Art
I can draw on the deck lines and vertical bulkheads for the spaces, so I can logic a porthole plan as they didnt get that far into the planing stages.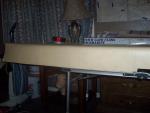
-
1/72 scale German light cruiser Munich. 1940
Haratio Fales replied to Haratio Fales's topic in Military Art
I started masking the hull vertically. I messed up here as I didn't tape all the way to th keel center, but ill redo it before I go to far.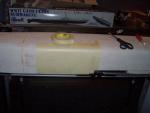
-
1/72 scale German light cruiser Munich. 1940
Haratio Fales replied to Haratio Fales's topic in Military Art
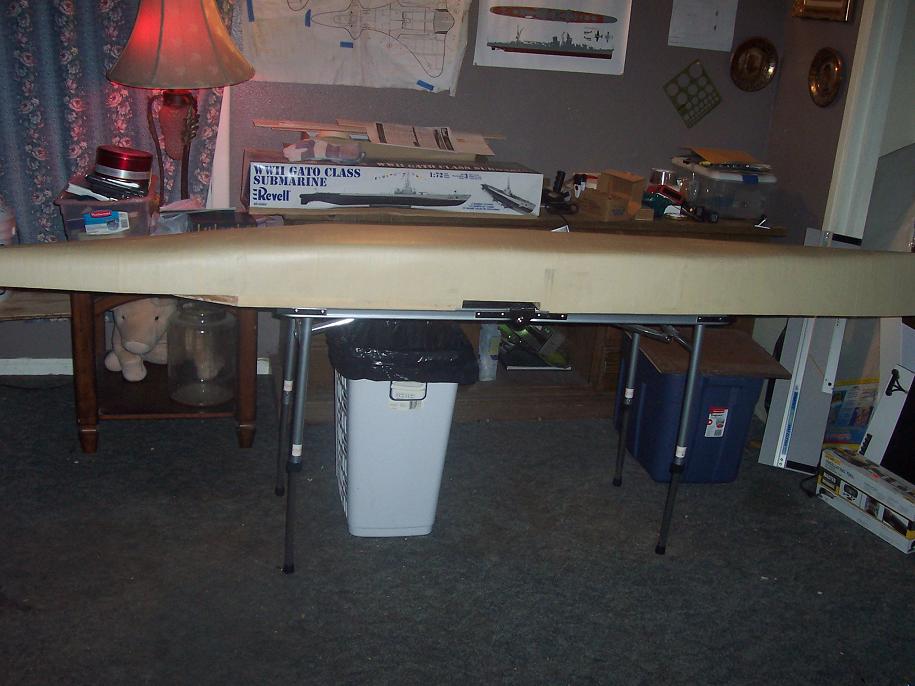
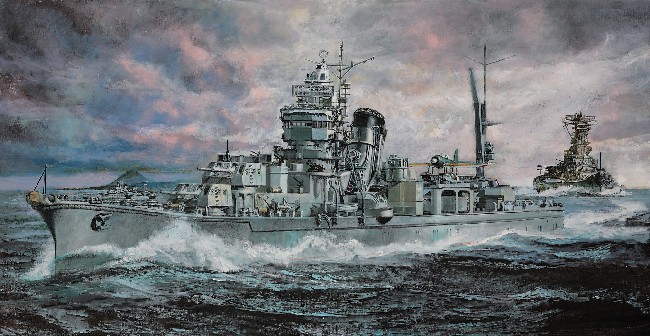
Here is a sneak peak at my next project that I am going to start shortley, in paralelle with the Munich. IJN Yahagi. She is a light cruiser that was the only other Capitol ship at Operation Tenichi Go besides Yamato. She was in charge of the destroyer group there, and was sunk along with Yamato by Navy aircraft. Pilots claimed that she was as hard to hit and sink as the Battleship. She was from a class of 4 ships of which 1 survived the war. She carried 6-6.1 inch guns in 3 turrets and 24 inch-long lance torpedoes in 2x4 tubelaunchers with refills. She was most likley at a disatvantage in a gun dual with light cruisers of other nations that carried 8 to 15-6 inch guns, however would have been a bad dream in a night fight at close range with her torpedo's.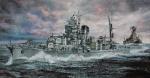
-
1/72 scale German light cruiser Munich. 1940
Haratio Fales replied to Haratio Fales's topic in Military Art
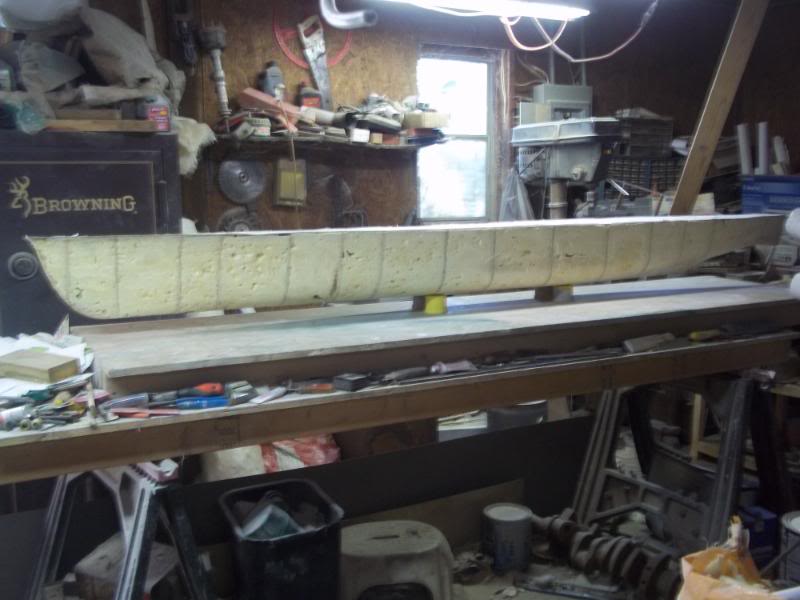
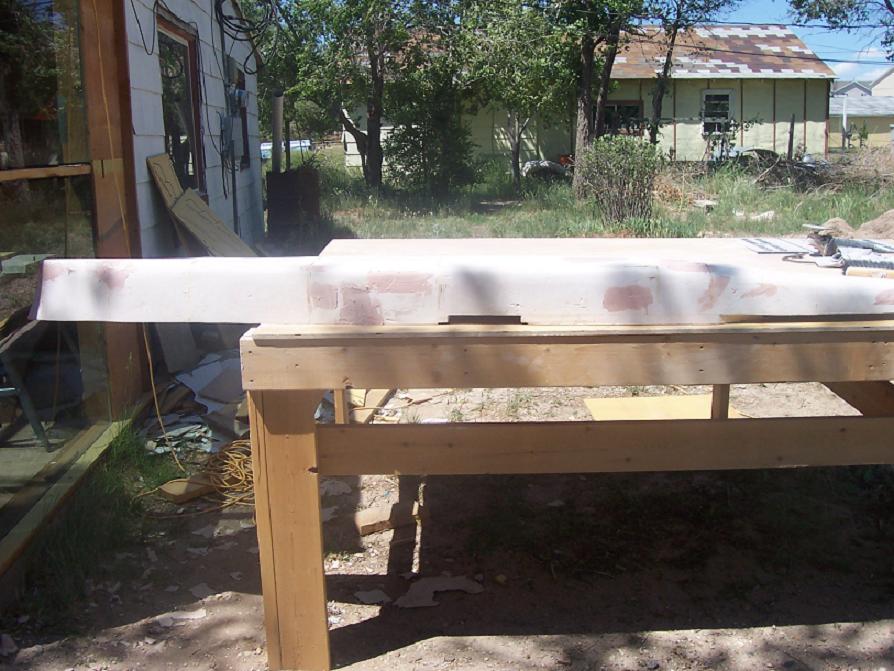
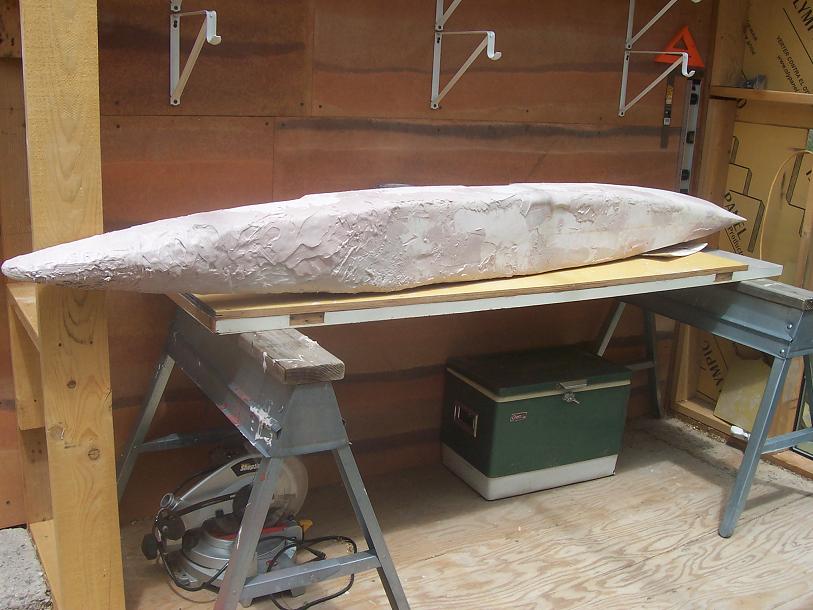
after about 3 more shaping sesions, I tapered down the bottom of the hull to a more streamlined shape, that the Germans were known for. and shouldnt have to much more to do as far as smooth sanding now. Then I need to dig out the deck plans again and logic where the portholes will be placed, and the engine cooling vents in the Hull as they didn't get that far into the plans.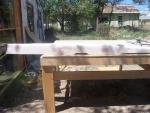
-
1/72 scale German light cruiser Munich. 1940
Haratio Fales replied to Haratio Fales's topic in Military Art
This should be the last major body filler sesion. the hull weighs about 110 lbs which would make it hard to steal, LOL. anyway I plan on useing it to make a set of molds for the RC hull, and I can use this one for the static version.
-
1/72 scale German light cruiser Munich. 1940
Haratio Fales replied to Haratio Fales's topic in Military Art
In the intrest of time and catching up I have skiped about 60 pictures but allot of that are just pictures of the same process. from start to end I have about 2 months time involved here with about 40 man hours or so. In this pic I cut off the center screw shaft skeg as I think I can make it easier with the shaping away from the ship and shape the stern easier with out it in the way.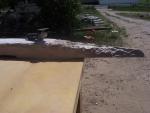
-
1/72 scale German light cruiser Munich. 1940
Haratio Fales replied to Haratio Fales's topic in Military Art
The shape a bit closer to where I want it.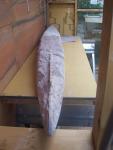
-
1/72 scale German light cruiser Munich. 1940
Haratio Fales replied to Haratio Fales's topic in Military Art
I dont want to bore You, this is the same process I used on the bow, add Bondo grind, over till I get teh shape right and ajust then I can smooth sand it to a nice finish to go on to the next step.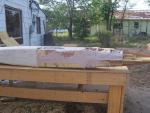
-
1/72 scale German light cruiser Munich. 1940
Haratio Fales replied to Haratio Fales's topic in Military Art
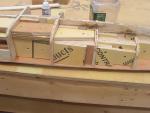
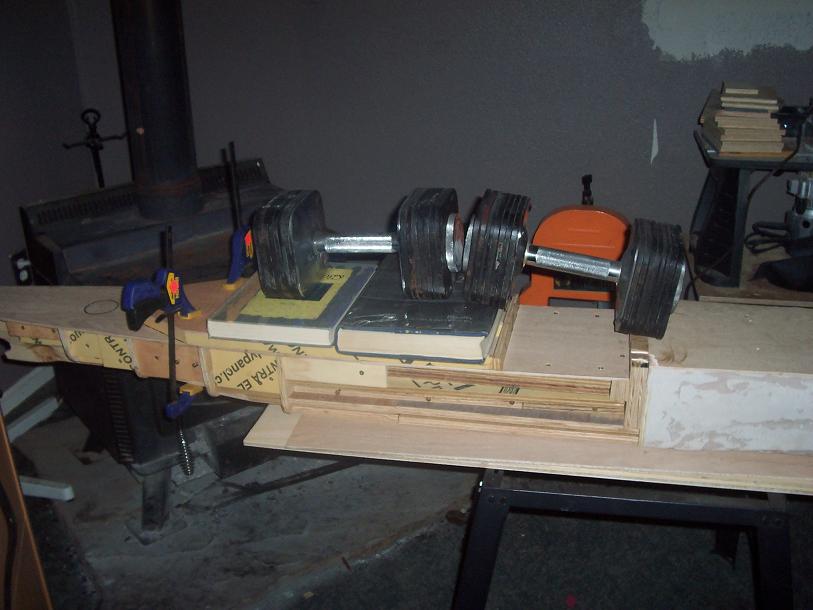
some heavy reading involved LOL/ gluing down the rear wheather deck.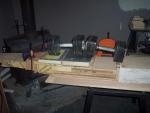
-
1/72 scale German light cruiser Munich. 1940
Haratio Fales replied to Haratio Fales's topic in Military Art
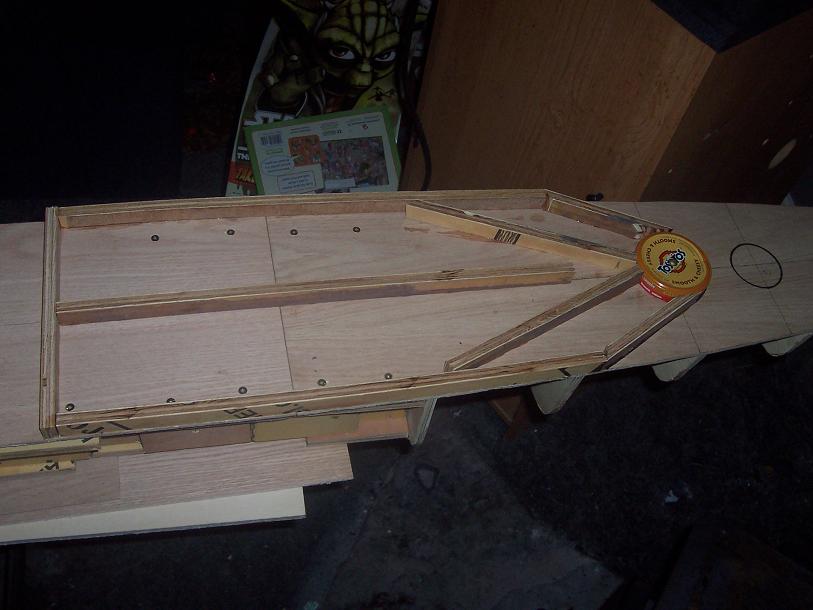
this is where I added the Jar lids to the Ceasar barbette position allong with the bulkheads and support bulkheads for the mid weatherdeck extension from the torpedo pocket area.
-
1/72 scale German light cruiser Munich. 1940
Haratio Fales replied to Haratio Fales's topic in Military Art
Again in the mid and stern area, I add in screws and filler wood.